Installing Proxmox VE on N150 NUC + HASSIO
Create a Proxmox Bootable USB Drive
- Download Balena Etcher and install it (Proxmox VE 9.0 ISO Installer)
- Download the latest Proxmox VE ISO-Image and flash Proxmox ISO on USB-Stick
Install Proxmox on N150 Mini PC (NUC)
- Plug in the USB Drive you just created in your Mini PC
- Plug in an Ethernet cable, Keyboard and Monitor
- Power it on, and navigate to BIOS (Usually by pressing DEL key during boot)
- Make sure Secure Boot is disabled
- Make sure Virtualization Technology is enabled under (navigate to the CPU Configuration under Advanced tab) and Save (BIOS/UEFI)
- put USB-Stick and start it will presented with the Proxmox Welcome Screen
- Select Install Proxmox VE (Graphical)
- Select the Hard Drive you want to install Proxmox to and hit Next
- Select your Country, Time zone and Keyboard layout
- Set a password and e-mail and click Next
- Set Hostname (pve.proxmox or pve.local)
- Finish Installation and remove USB-Stick and reboot
- Access your Promox server from the IP_Address:8006
Update Proxmox Packages (optional)
- Login to Promox VE (IP_Address:8006) root/PWD
- Select the VM (pve), rigth click and select “Updates”from the list, click “refresh ” at the top, when finished close the popup and select upgrade (UTF-8 and English).

Configuring and Updating Proxmox VE by using Community-Scripts (optional)
- select your node on the left and click Shell and run the script and complete the post-installation process for Proxmox VE
echo 'nameserver 9.9.9.9' > /etc/resolv.conf
bash -c "$(curl -fsSL https://raw.githubusercontent.com/community-scripts/ProxmoxVE/main/tools/pve/post-pve-install.sh)"
Install Home Assistant OS on Promox
Install Home Assistant OS by using a community script to automate the process significantly.
apt-get install pv
bash -c "$(curl -fsSL https://raw.githubusercontent.com/community-scripts/ProxmoxVE/main/vm/haos-vm.sh)";
- Find, download and extract the official KVM (qcow2) Home Assistant OS image
- Define user settings, import and attach disk, set boot order and start the VM automatically
- Install the VM with Default Settings: 4GB RAM, 32GB Storage and 2vCPU cores (later can increase the mem & disk size)
- Settings can be tweaked during installation
- Click your “100 (hassio)” on the left and select summary and get IP_Address from the list: IP_Address:8123
Restore Hassio from a Snapshot or from a backup: as usual!
Some Tipps
How limit historical data and the logs in configuration.yaml:
recorder:
purge_keep_days: 7 (set to how ever long you want)

recorder:
auto_purge: true
auto_repack: true
purge_keep_days: 10
Purging All Historical Data of certain sensor
- Select the Actions tab
- From the dropdown, select the service
recorder.purge_entities.
action: recorder.purge_entities
data:
entity_id:
- sensor.home_energy_l1_current
- sensor.home_energy_l3_current
keep_days: 0
Delete all historical data of all sensors except some specific sensors
action: recorder.purge_entities
data:
keep_days: 0
entity_id: >
{% set exclude = ['sensor.foo','sensor.bar'] %}
{{ states
| selectattr('entity_id')
| rejectattr('entity_id','in', exclude )
| map(attribute='entity_id')
| join(',')
}}
or Delete all historical data by using SQL statements on MariaDB: (Home Assistant Community Add-on: phpMyAdmin)
SELECT * FROM statistics_meta WHERE statistic_id like 'sensor.power_monitor%'

DELETE FROM statistics_meta
   WHERE metadata_id in (SELECT id FROM statistics_meta WHERE statistic_id = 'sensor.power_monitor_l1_current')
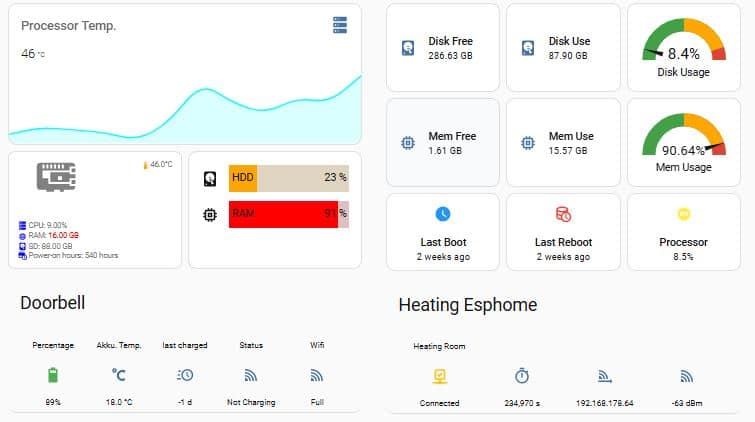
Monitor the Proxmox Virtual Environment memory and CPU monitoring in Home Assistant
1- Setup in Proxmox User and Permissions under Datacenter in the left-hand menu.
- > Users
- Add a User
(Username:ha, Password:-, Realm: -, Group:hassioGR, Enable:checked, Expire:Never)
- > Permissions
- Add Groups Permissions
(Group:hassioGr, Path:/, Role: PVEAuditor, Propagate is checked)
2- Set up the Home Assistant Integration
- Settings > Devices & Services select “Proxmox VE”
- Disk pve: Quanji N300 512GB
- Node pve
- Storage pve/local
- Storage pve/local-lvm